Running jobs on denbi cloud
Access to a project
Either request a new project to deNBI cloud, or ask the RDDS team or team leader if you can create an instance in one of their projects. The info on how to apply for a new project is collected on the deNBI wiki. We recommend you to apply for an OpenStack Project so you can configure your own settings and instances.
You should register with your University account to obtain an ELIXIR ID that will allow you to log into deNBI cloud, and once you have an account there, you can be added to an existing project. The instructions on how to register are found here.
Important! After registering it is necessary to send an email to the Tübingen cloud administrator, so that they activate your account.
deNBI official documentation
The documentation on how to create instances and other important things is collected on the deNBI Tübingen page. This documentation is not perfect, though, and I found it useful to add a few more notes here.
Creating an instance
Log into
cloud.denbi.de, select your project, and log into the OpenStack web interface by clicking the green buttonLog into Openstack.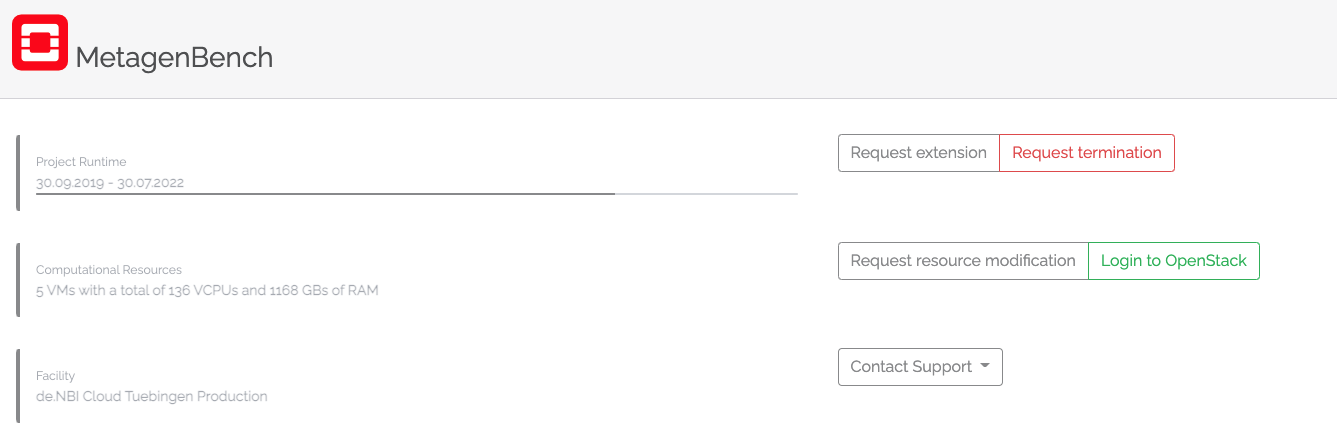 Login openstack
You should then see the project overview board. This overview shows how many instances, and total CPUs, memory (GB), and Storage (GB) is still available for this project. If this is not enough for your needs, you can ask for access to another project or create a new project.
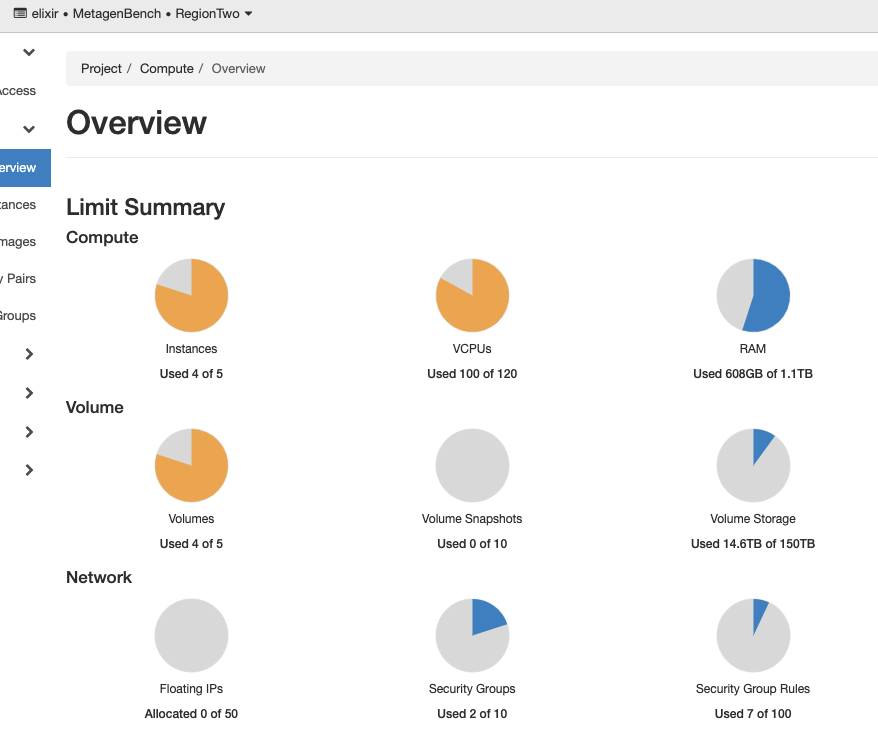 Openstack project overview
To create a new instance, go to the left menu: Compute -> Instances -> Launch Instance button. This will prompt a step by step guide:
Details: add an Instance Name
Source: select either “Image” for a generic image e.g. CentOS operating system, or “Instance Snapshot” for creating an Instance from a previous snapshot. For running
Nextflowworkflows, you can use the Instance Snapshotnextflow-singularitywhich already hasjava-jdk12,Nextflow,SingularityandDockerinstalled (check if Nextflow should be updated withnextflow self-update).Flavour: select the instance flavour (number of CPUs and RAM).
Networks: select
denbi_uni_tuebingen_externalnetwork.Network Ports: leave empty.
Security Groups: add
defaultANDexternal_access.Key Pair: add a new key pair or select yours. Only one Key Pair is allowed per instance and if you lose the private key you will not be able to access the instance any more! If you choose to create a new keypair, make sure to copy the private key that is displayed to your computer, and store it under the
~/.ssh/directory. You will also need to adapt the rights of this file so that only you (the computer main user) can read this file. You can do that in the command line by:chmod 600 <your_private_ssh_key>
Rest of fields: leave default.
Press on
create instance
You should now see your image being Spawn on the Instance dashboard. It might take several minutes to spawn, especially if created from an Instance Snapshot. In this dashboard you will be able to see the instance IP and the operating system, which you will need to log into the instance via SSH.
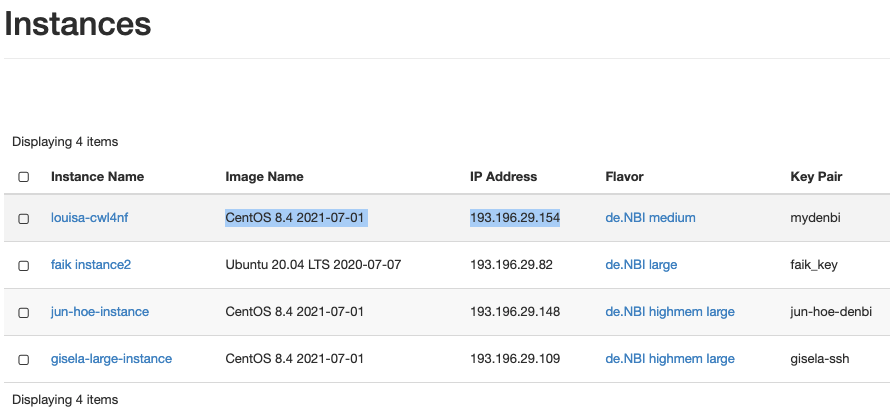 instance board
SSH to an instance
To ssh to an instance, you need the private key of the Key Pair that was used to create the instance, and the instance IP address.
ssh -i /path/to/private/ssh-key <username>@<IP>
The username is the name of the operating system that was used in the image. For the nextflow-singularity instance snapshot, it is centos. For an Ubuntu-based instance, that will be ubuntu.
ssh -i /path/to/private/ssh-key centos@<IP>
For regular fast-access to your instance it might be useful to create a SSH client configuration file. The default location for the configuration is ~/.ssh/config.
Host <name>
    Hostname <IP>
    User <username>
    IdentityFile /path/to/private/ssh-key
To access your instance or copy files to/from your instance:
ssh <name>

# remote file transfer
scp local_files_to_copy <name>:/path_to_remote_folder
Attach and mount volumes
In order to use an external cinder volume, you need to first create one on the OpenStack interface. Give the volume name and the amount of storage that you need (cannot exceed the total allowed for the project) and create a new empty volume (no image).
Attach volume: on the volumes dashboard, under Actions for your volume click the arrow and select
manage attachments. Attach the volume to your running instance.Mount volume: Follow the instructions to mount the attached volume to your instance. Use
sudoif you get anypermission deniedoronly root can do thatmessages. Also you might need to recursivelychownandchgrpthe newly created folders to your user and group. Here you have a summary:
# ** IMPORTANT NOTE **
# Make sure to select right device : /dev/vdb or /dev/vdc ...

# list devices
lsblk

# format file system of device
sudo mkfs.ext4 /dev/vdb

# create mountpoint
sudo mkdir -p /mnt/volume

# change permissions
sudo chmod -R 766 /mnt/volume

# mount vdb device to mountpoint
sudo mount /dev/vdb /mnt/volume

# change owner of volume: user = centos, group = root
sudo chown -R centos:centos /mnt/volume
Setting-up nextflow, singularity, docker
If you haven’t created an instance based on an Image that already has java, Nextflow and singularity or docker installed (e.g. the nextflow-singularity image), you will need to install this software.
Installation instructions for Java . For Nextflow better use java version >17. As summary:
wget https://download.java.net/java/GA/jdk17.0.2/dfd4a8d0985749f896bed50d7138ee7f/8/GPL/openjdk-17.0.2_linux-x64_bin.tar.gz
tar xvf openjdk-17.0.2_linux-x64_bin.tar.gz
sudo mv jdk-17.0.2/ /opt/jdk-17/

vim ~/.bashrc
export JAVA_HOME=/opt/jdk-17
export PATH=$PATH:$JAVA_HOME/bin
source ~/.bashrc
java --version
Instructions for installing Nextflow can be found here
On CentOS, singularity can be installed with the package manager
yum. First install the dependencies and then head straight to the CentOS sectionFor installing docker, please follow the instructions and the post-installation steps
You can also use the
ansibletemplates provided here.
Running Nextflow pipelines on deNBI
Running Nextflow pipelines on deNBI VMs is like running them locally on your computer. When launching a pipeline, make sure to define the maximum resources available at your instance, either with the appropriate parameters or with a custom config file (e.g. in a file called custom.config):
params {
  max_memory = 512.GB
  max_cpus = 28
  max_time = 960.h
}
Then run the pipeline with the singularity or docker profile, whatever container system you prefer and have installed in the instance, and by providing this config file. The best is to start the run inside a screen session. For example:
screen -S newscreen
nextflow pull nf-core/rnaseq -r 3.4
nextflow run nf-core/rnaseq -r 3.4 -profile singularity,test -c custom.config